Simple Master Bedroom Update
We were so excited when Leslie Buchanan-Jones reached out to work with us on this master bedroom update, and we were extra thrilled when she offered to write this guest post all about her experience. Read on to see why we lover her so much.
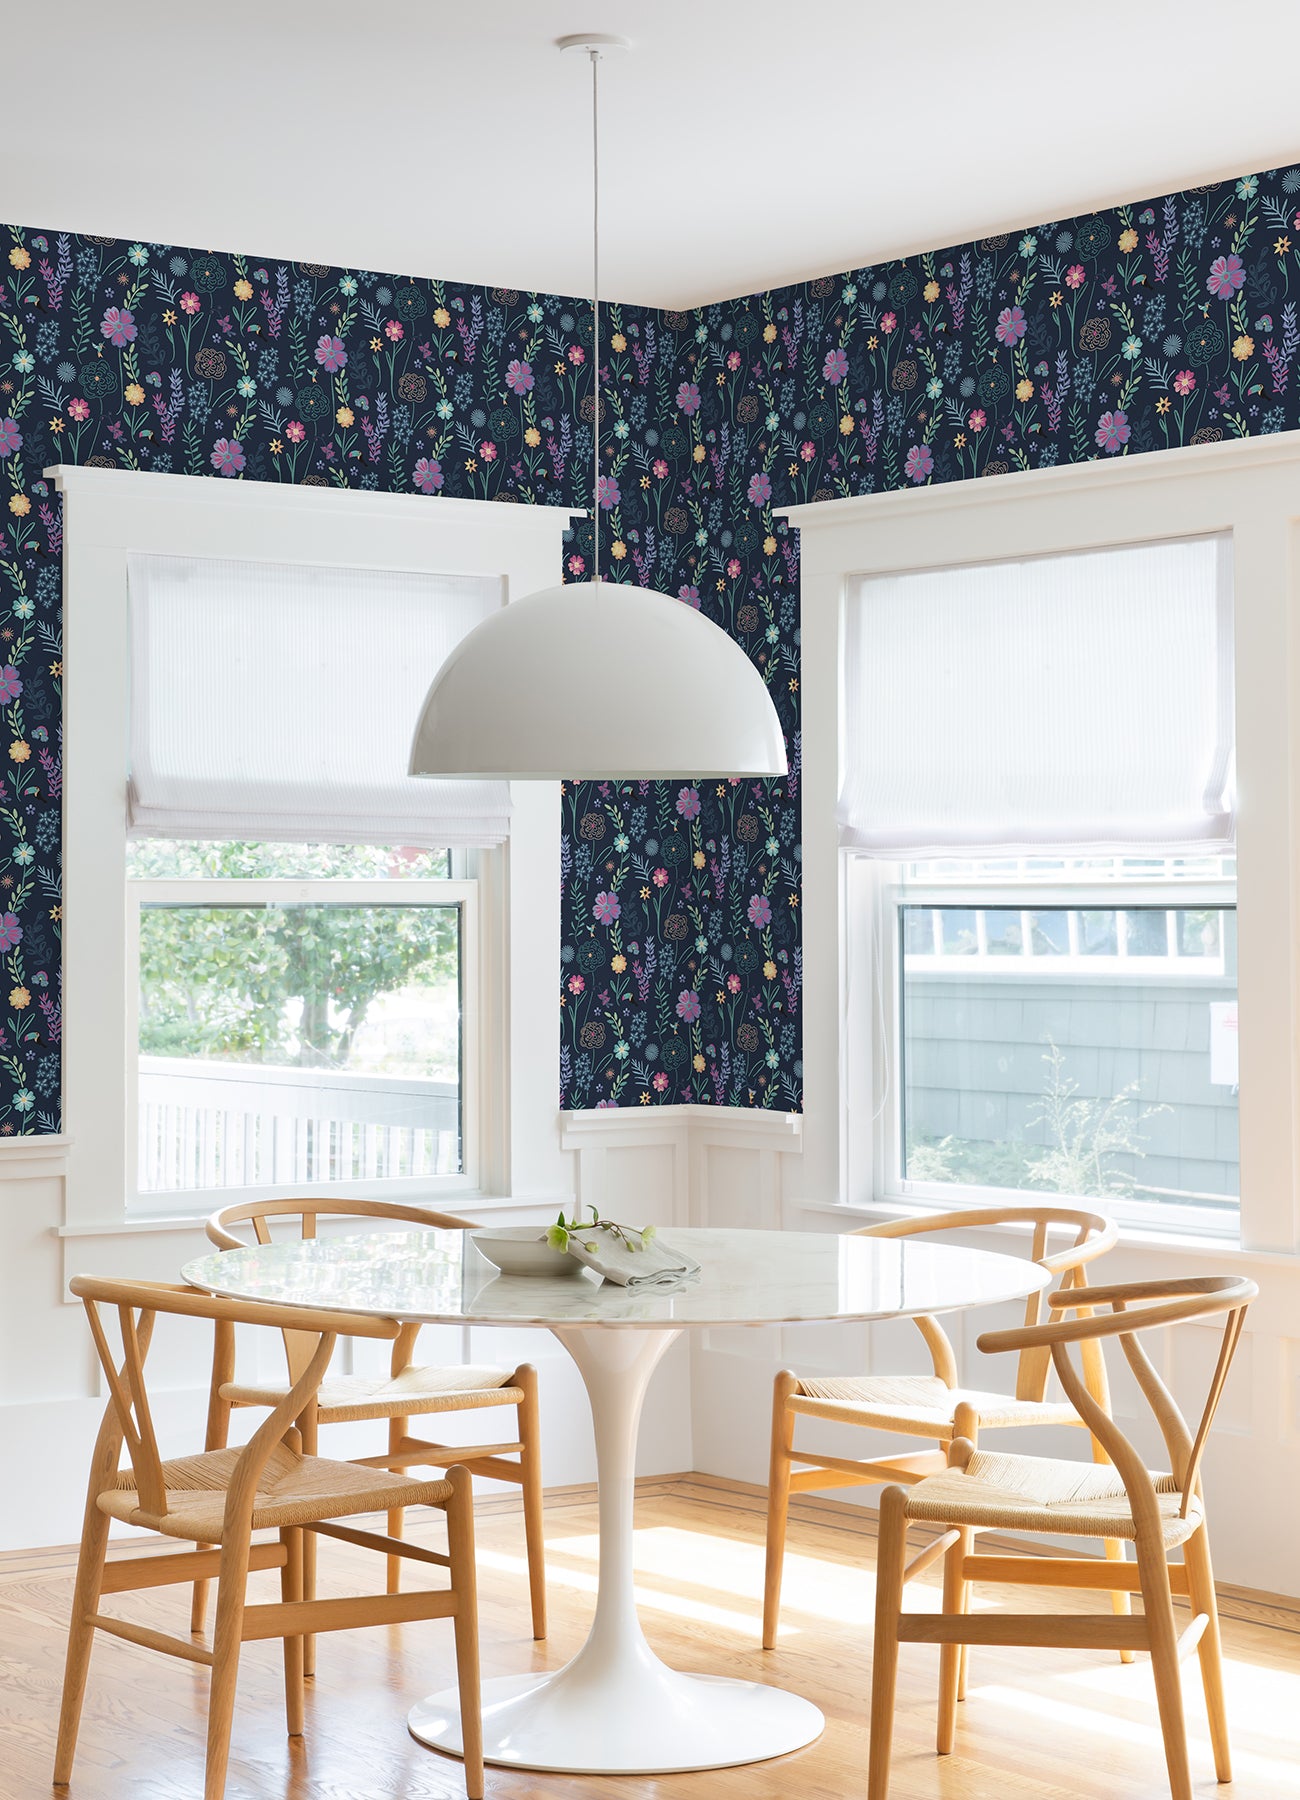
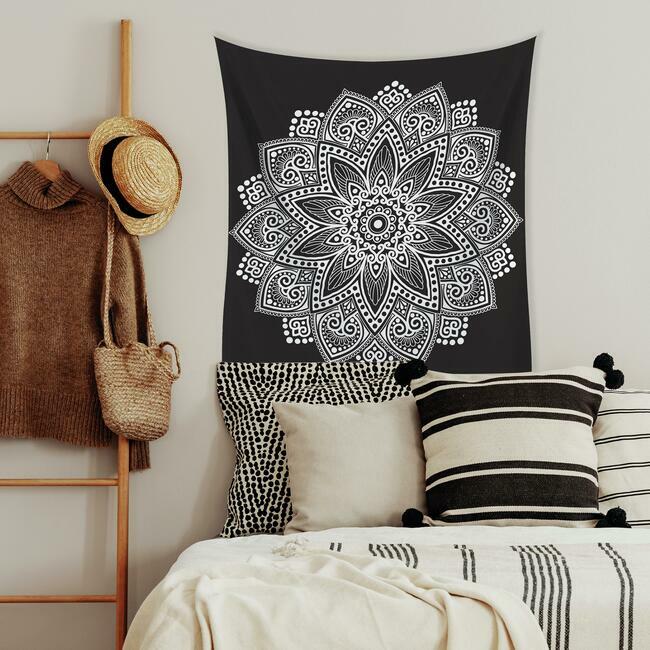
I was giddy with excitement to install the new Tick Mark peel and stick wallpaper by RoomMates. I was participating in the One Room Challenge sponsored by Better Homes and Gardens Magazine and One Room Challenge (ORC). The new Tick Mark peel and stick wallpaper figured prominently in the design plan for our simple master bedroom update.

Ordering
Well before installation day, is order day. Ordering correctly is critical to ensuring a smooth installation process. You would not want to create stress for yourself as a result of a miscalculation. Here's how we made sure we ordered the right amount.
- Measure the number of linear feet that you will be papering. That is the total length of the wall or walls that you will be papering.
- Divide that number, by the width of the paper, which is 21 inches. That will give you the number of runs of paper that you will need.
- Measure the height of your wall. That will give you the length of each run of paper.
- Multiply the length of the run by the number of runs you will need. That will give you the total length of linear feet of wallpaper that you will need.
- Divide the total number by 16.5 ft, as that is the amount on a roll. If you have 8 ft walls you can basically get two runs of wallpaper per roll.
- A good rule of thumb for calculating the extra you need, is to make sure you have one extra run.
If you have questions in calculating your quantity, the team at is there to help. Then, you press order and wait for your delivery.
Tools You Will Need
Here are a few tools that you will need for this project. Most, you will likely already have, and some make the job so much easier.
- scissors
- pencil
- measuring tape
- level
- straight edge
- blade
- smoother - (not a technical word, but something to smooth the air bubbles out of the wallpaper. A credit card or plaster smoother works great.)
Can You Install It Alone?
Yes, of course, one person can install this wallpaper alone. But it is always more fun to have a partner, and a second set of hands are always a plus. On this and most jobs that I do, my partner in life and in DIY is always there to help me. We are also usually assisted by our furry friend Lola.

Preparation
Before you get started, prepare your wall. Remove switch plate covers and any hooks or nails. Patch any holes and sand any rough bits. After that, give your wall a wipe down with a slightly damp sponge to remove any dust or debris. Be sure to let the wall dry before beginning installation.
As part of my design plan, both the paint and the wallpaper will stop at 10 inches from the ceiling, and there will be a trim applied after. So our first step was to draw a line across the wall, 10 inches from the ceiling. That will be where our wallpaper ends. In your case the paper will most likely go to ceiling, so you won’t need to draw a line.
The Installation Process
Before you begin, you should determine the repeat of your pattern. We determined ours to be 13 inches. That means that when you are matching you will find a pattern match within that 13 inches. So we added 13 inches to each of our runs of paper.
You should always start from the left. In our case that meant starting at a corner. A quick check with the level revealed that our wall was not square. That is probably not an unusual scenario, especially in an older home. So please check.
Since ours was not square we measured in 20 inches from the corner, and using the straight edge, we drew a straight line to the floor. Since the wallpaper is 21 inches, this allowed us one extra inch for the crooked corner wall.

The most important thing you can do is ensure that the first run of paper is straight. So whether you are using a perfectly straight wall or a straight line like we did, it is critical that you lay the right foundation.
We were careful to align our first run. It was remarkably easy to set and reset, then smooth out. It really helped that I chose an abstract pattern, as it was a bit forgiving. Then we used the blade to make a straight cut in the corner to get rid of the excess. We also cut the access at the baseboard.
With the next run, were were able to adjust its placement to align with the pattern on the first run because we had the extra for the pattern repeat. This was the same with each of the following runs.
Pro Tips!
Around outlets: We used an exact-o knife to cut around the outlets. Make sure that the power is off in advance. Take your paper over the outlet and carefully cut where the outlet is.
Around a window: Leading up to a window, make the length of the run the same as the other pieces and wide enough to take you up to the edge of the window. Save what you have cut off and use the extra to match up pieces to go above and below the window.

The Big Reveal
It took us 3 hours with a half hour coffee break to do an 18 ft wall. Not bad. I would definitely recommend the peel and stick wallpaper from RoomMates. I am already thinking of where I can use it next. It is such an easy way to transform a room and there are so many patterns to choose from.
As I mentioned at the beginning, the tick mark wall paper figured prominently in my design plan for our master bedroom transformation as part of the One Room Challenge. Here is the final room!


Lessons Learned
There are a couple of things that we learned.
- RoomMates' peel and stick wallpaper wallpaper is easy to lift and reapply if you are not happy with its placement, be sure not to pull on the diagonal or tug as that stretches the paper.
- Make sure you always have the paper right side up. If it’s not clear, there is the possibility of installing a run upside down. If you do however, its peel and stick so off it easily comes.
- Pull off the backing from about the first foot of the paper to ensure it is placed correctly at the top. Then pull off a good portion of the backing because the gravity of the paper helps with correct alignment.
- Be careful not to let the paper stick to itself. We made that mistake once and when you try to pull it apart the paper stretches. We had to cut off this mistake but we were able to use the shorter piece elsewhere. I am glad we included extra in our calculations. Just be careful not to let that happen.
Advantages of Peel and Stick Wallpaper
- There is no messiness with the installation of peel and stick wallpaper. No trays of water and dripping paper.
- Peel and stick wallpaper is easier to cut than wet pasted wall paper.
- Being able to lift the paper and re-install is a life-saver for pros and amateurs like us. The peel and stick allows for more accuracy when installing.
Leslie Buchanan-Jones is a designer with River Studio Design in Ottawa. She can be found here on her Blog, Instagram and Facebook.